How to Install and Enjoy your Indow Insert

Once you have your Indow insert(s) and installation instructions, you can use this page as a supplemental guide. We have videos of experts explaining every step of the way. If we missed something contact us: 503.284.2260.
Measurement
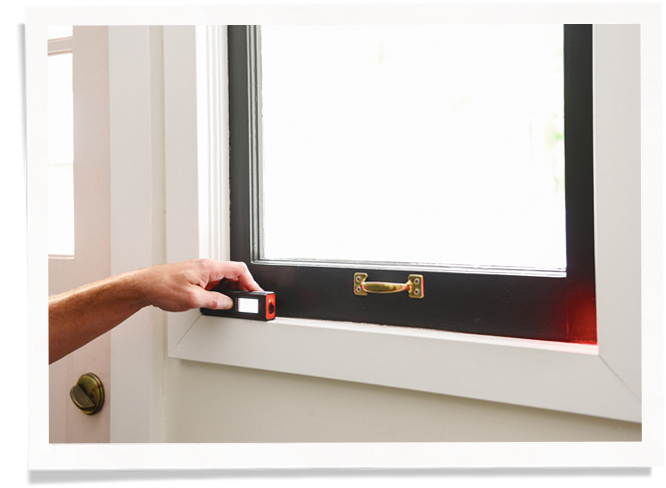
Looking for the Measure by Indow™ Portal or your order status? Our Measure Support Page has everything you need including a contact form to retrieve your login information.
Once you are logged in, any measurements you save can be kept and turned into a new order. Your measurements will be waiting for you if you ever decide to add more Indow inserts to you home.

Shipping & Receiving
You will receive all your shipping information via the email address you provided. This includes when your insert is shipped and tracking information. If you don’t receive this, contact your Fit Specialist.
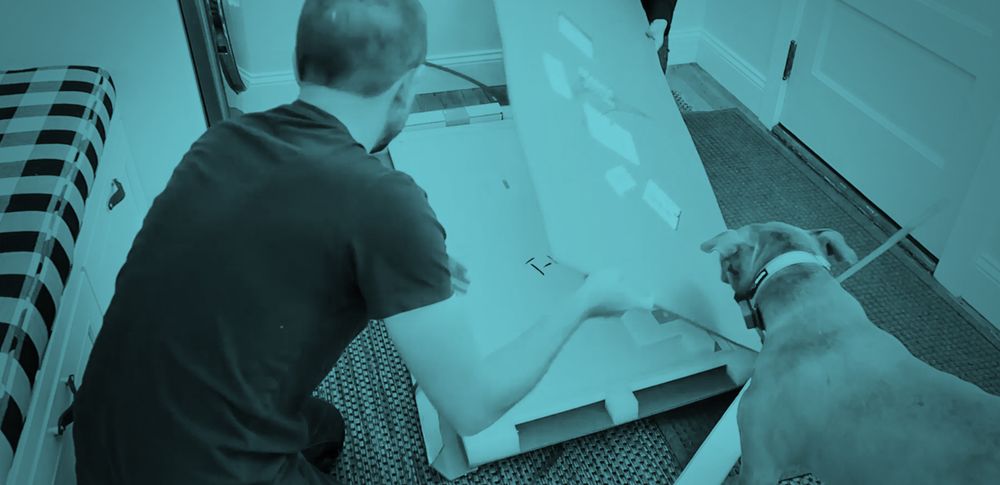
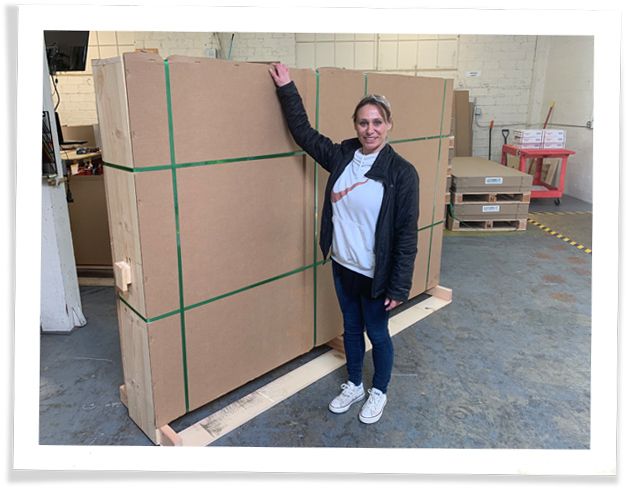
Upon arrival, examine the outside packaging for any damage (see here for our handling guide). Do not refuse shipment if damage is present as the insert inside the packaging may be fine. Open cardboard to survey inserts for internal damage to the panel.

If you aren't present, please share these steps with the person receiving the shipment, and let your Fit Specialist know who that will be.
If the packaging is damaged, keep all packaging until the inserts have been installed. If you find any damaged inserts please take pictures right away. Any issues must be reported to Indow within 30 days of receipt. Please contact your Fit Specialist immediately and submit a claim.
Installation
Watch an Indow expert go through the steps of installing, removing, & adjusting an Indow window insert. Watch more expert installations.

Make sure you're installing the window insert on the same framestep you measured on. Larger inserts may need two people for installation. Use these instructions:
Install the bottom edge first. Make sure you adjust the corners with your fingers before doing anything else. (See Corner Adjustment Video below for more info.)
Move straight to the top of the insert and place both hands in the center of the tubing about shoulder width apart.
Place downward force on the insert. It may flex, this is fine. The downward force and possible flex will compress the bottom tubing and make the insert "shorter" so it can fit in the top of the frame more easily.
Move the top of the insert under the top of the frame and pull your fingers out to release the insert and compression tubing. Adjust the corners to fit and smooth out the rest of the tubing on the top.
Tuck in the tubing on the vertical sides of the insert and you are done!
Measuring & Installing Your Mullions
It is important to measure carefully before installing the mullions into your window frame. Watch the video below for instructions on how to measure and place the mullion brackets correctly. Be sure to download our mullion guide and read through all of the instructions.

Window Insert Corner Adjustment
Our window inserts should fit perfectly in your window. That doesn't mean they don't need some help laying perfectly flat against the frame. Watch an expert adjust the corners so their insert looks perfect.
See more about how Indow inserts work.

Safety Chain Installation
Not all inserts come with safety chains. If yours doesn't have any attached, don't panic, it means yours doesn't require them. Safety hardware provides a backup in cases of extreme weather changes that cause rapid expansion and contraction for large inserts. Here, an expert shows how to install and use safety chains.

Caring For Your Insert
Don't be shy about removing and reinstalling your insert. They've been tested for hundreds of installations without wear or tear. We recommend cleaning your insert at least once a year with our cleaning kit or a gentle cleanser. Read our care guide for full details.
Store your insert wrapped in something non-abrasive, like a sheet, and flat or vertical, not leaned or against each other. Here's a video on how to store your Indow insert.

Are Your Inserts Reducing Enough Noise?
Not all noise issues can be solved by our window inserts. There are many reasons noise may not be reduced as much as you hoped. See our Noise Reduction Sheet to see how our inserts help block noise and to help check for other sources of noise entry. Check to make sure that your panel is correctly and fully installed. And then watch this video to check if you got our Acoustic Grade.

Our Acoustic window inserts are thicker than our other window inserts to better block outside noise. In this video, our Indow expert shows how to measure your insert to ensure you got the right grade type.
If all of these check out, please give us a call so we can help to make Indow work for you.
Customer Sharing is Caring
Hearing directly from you (yes you) can really make a difference in prospective customers' decision to choose Indow. You could be what helps them find relief from noise and cold.
If you've had a positive experience with an Indow representative or since you've installed your insert, please share your story on our reviews page or on social media. It can make a huge impact.
Share the Love, Get Paid
Love your inserts? Love your friends? Share what made you take the plunge and make your home more comfortable and quiet.
YOU GET:
$50 for every order of $250 or less, OR
$100 for every order of $250 or more
You must use the unique link that was given to you to get credit for your referrals. Search your email for a message with the subject line: “Share about Indow and earn money”.
Share Your Feedback or Get Help

We're always trying to get better. Your feedback can help us improve our measurement and installation processes.
If you have a current issue that needs solving, submit a case to our expert team.
