A Guide To Installing Mullions For Your Indow Window Inserts
A mullion divides a window into smaller units. An Indow mullion comes in an ‘H’ profile to divide our window insert into more manageable units when needed. The acrylic inserts slide into the white space of the ‘H’.
Sometimes a specialty ‘F’ profile mullion is needed for windows that meet at an inside corner, like a fish tank. If this is the case for your windows, let us know so we can provide different instructions.
Consider the Indow Mullion when:
Your window, or the opening you’d like to seal, is too large for a standard Indow insert.
You will be installing & removing your insert often—for cleaning or opening your window.
You want to open part of your window while keeping part of the insert installed.
Your existing window has frame dividers & you want your insert to match.
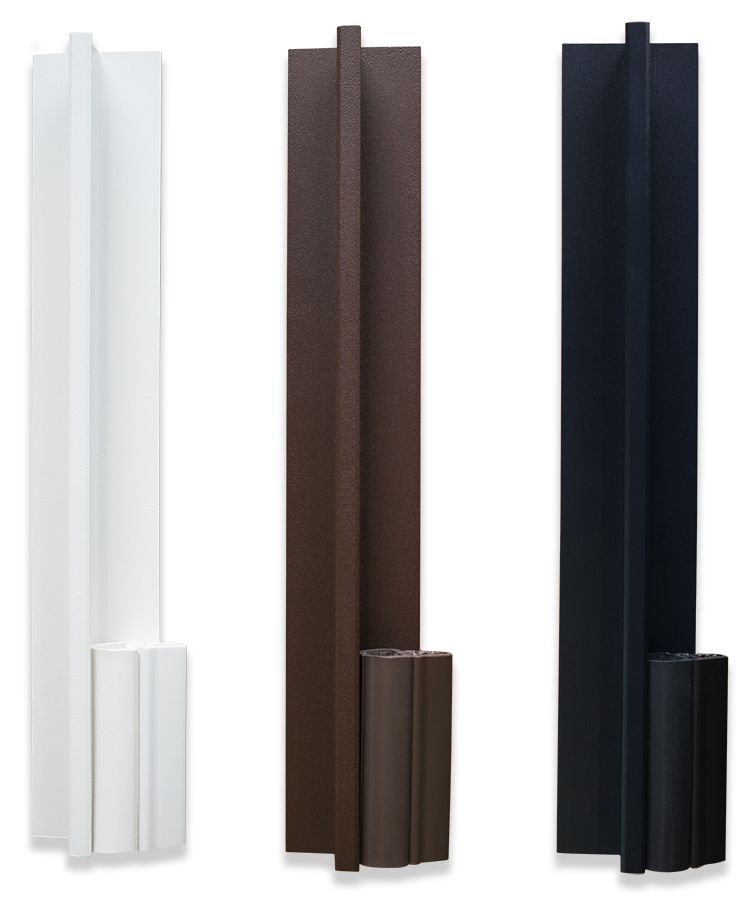
The Indow Mullion comes in the same colors as our insert frames - white, brown, & black - but can be painted to match your window frame. The ‘F’ bar is only available in a “mill” finished aluminum.
The Indow Mullion includes everything you need for installation:
‘H’ Bar
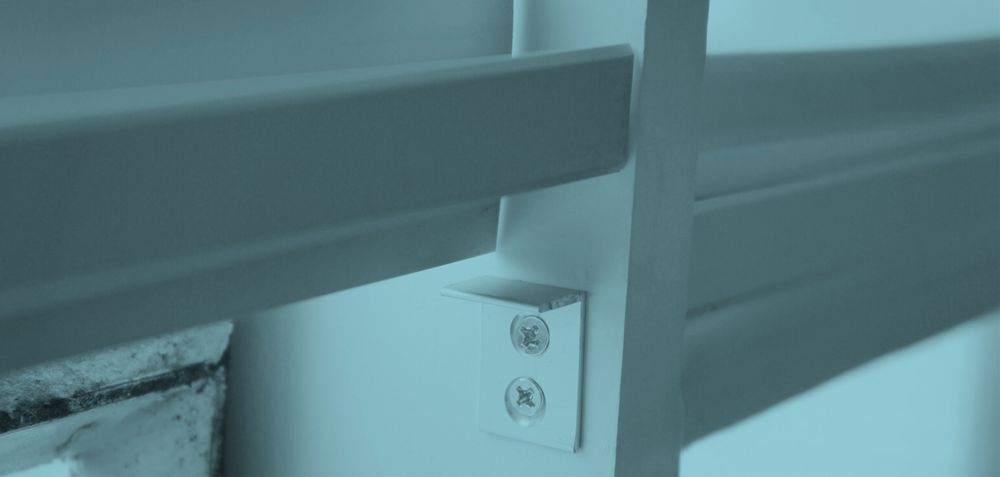
Mounting ‘L’ Brackets
Screws
Please let us know if you did not receive the mullion sample piece with the mountings brackets and screws.
H Bar
F Bar
Color Options
NOTE: This guide includes instructions for installing brackets, measuring with only the brackets in place, and installation once inserts and mullion have been delivered. For alternate installation techniques or when using ‘F’ bars, you will need to completely install the bar and hardware before measuring.
Horizontal Split Installation
What you will need:
2 ‘L’ brackets
2 Screws per bracket
Drill with 1/16" Drill Bit
#1 Phillips Bit Screwdriver
Pencil
Tape Measure
Laser Measuring Device
Bracket Installation
Determine placement of the window split. We recommend using an existing visual line, like a window frame, sash or divide, if present.
Measure from the bottom of the frame up to the point at which the mullion is desired and mark the frame with a pencil.**
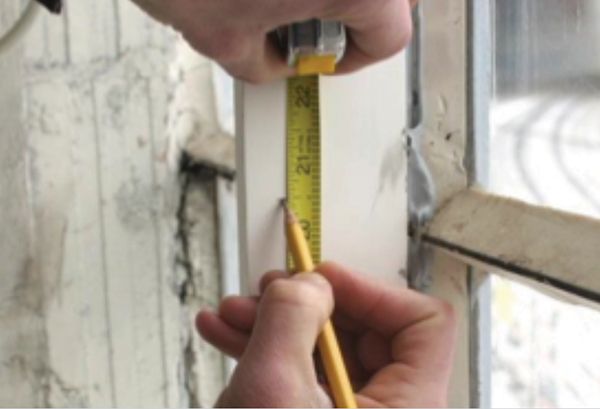
Repeat on the other side.
Position an ‘L’ bracket so that your pencil mark is at the TOP of the bracket and mark a center point for each counter sunk hole.
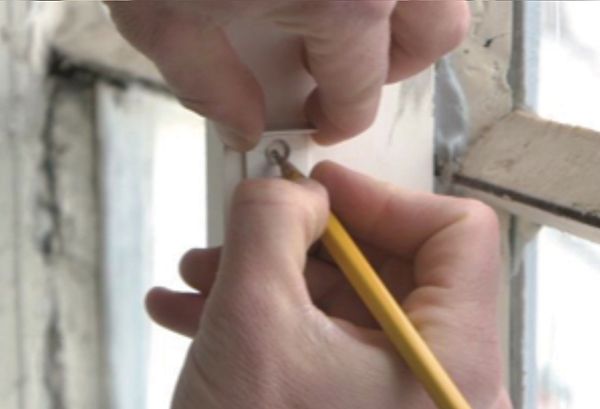
Repeat for the other side.
Pre-drill each marked center point.
Once holes are drilled on both sides, secure the ‘L’ brackets with the screws provided.
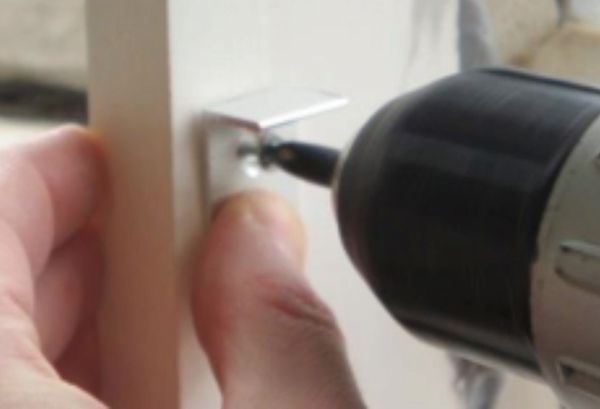
NOTE: MAKE SURE you position the bracket at the correct depth (& frame step) within the frame. If you aren’t sure what a frame step is, walk your fingers from the surface of your window out toward your wall. Every time you have to take a step with your finger, that’s a frame step.
Watch the Video:
“How to Measure Your Window for Mullions and Indow Inserts”

Horizontal Split Measurement
Follow the instructions included with your Laser Measure Kit to capture the six measurements for each opening.
When measuring the “A” value for the bottom panel, place the laser tool just below the ‘L’ bracket and shoot straight across the window frame.
The blue ‘L’ bar represents the Mounting ‘L’ Brackets
Double check your measurements. The ‘B’ value for the upper insert should be nearly the same as the ‘A’ value for the lower insert.
Enter all data into the Measure by Indow portal, check, and save.
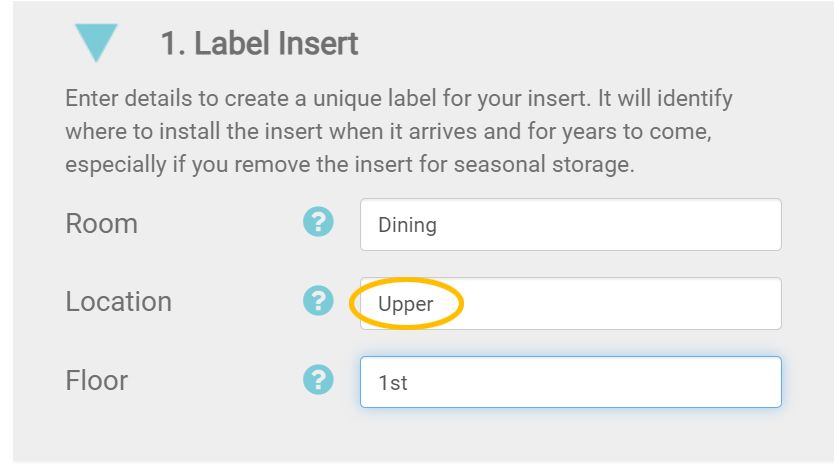
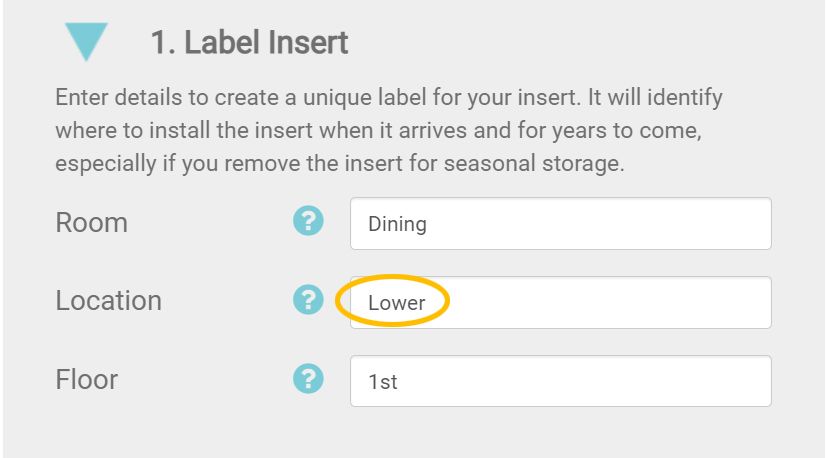
When entering your measure data into the Measure by Indow portal, designate UPPER” or “LOWER” in the Location field. This will be labeled on each insert so you know the correct location to install each panel.
Insert Installation
Receive and un-package insert packaging.
If the mullion bar was not ordered pre-cut, you will need to measure the opening and cut it now.
Measure the distance across the frame at the specific location the mullion will be installed.
Measure and cut the aluminum bar using any saw with a metal-cutting blade.
Lay the mullion in place on top of the previously installed brackets.
Install the Indow inserts.
Install the TOP insert FIRST to compress the mullion down on top of the ‘L’ brackets.
When installing the bottom/lower insert, install the TOP of the panel first, so it nests in the channel of the mullion.
Vertical Split Installation
A vertical split is when the ‘H’ bar is on its side. Imagine the ‘H’ tipped over 90 degrees and both the inserts sliding in from the side.
What you will need:
4 ‘L’ Brackets
2 Screws per Bracket
Drill with 1/16” Drill Bit
#1 Phillips Bit Screwdriver
Pencil
Tape Measure
Laser Measuring Device
Mullion Sample (provided by Indow)

Bracket Installation
For a vertical installation, you will need to install two sets of ‘L’ brackets on either side of the mullion to hold it firmly in place.
Determine placement of the window split. We recommend using an existing visual line, like a window frame, sash or other divide, if available.
On the window frame header, measure from the left of the frame to the point at which the mullion divider is desired and mark the frame with a pencil.**
Repeat on the bottom of the window sill.
Position an ‘L’ bracket in the top of the frame so that your pencil mark is at the RIGHT of the bracket and mark a center point for each counter sunk hole.
Repeat on the bottom of the frame.
Pre-drill each marked center point.
Once holes are drilled on top and bottom, secure the ‘L’ brackets with the screws provided.
On the bottom of the window frame, place the mullion sample against the installed ‘L’ bracket.
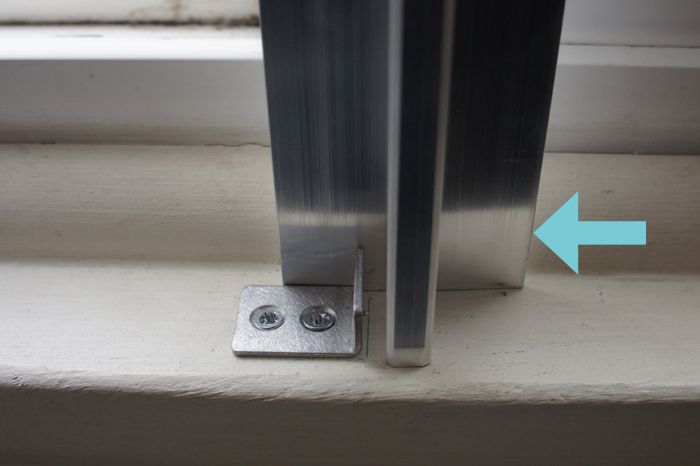
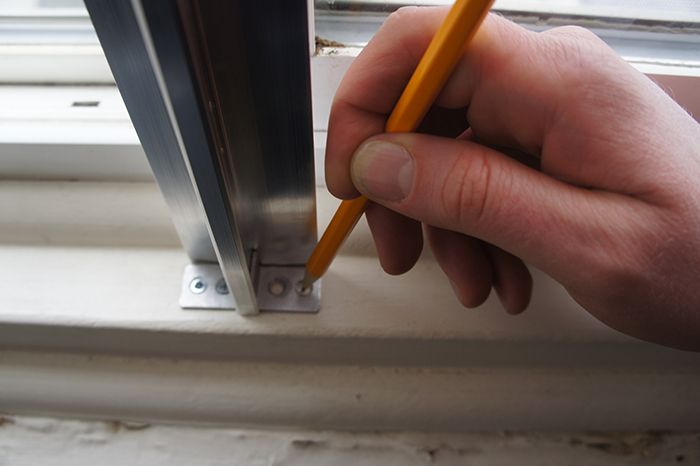
Place the other loose bracket inside the mullion channel and mark the location of the hole in the bracket.
Remove the mullion divider and pre-drill marked center point and secure ‘L’ bracket in place with the screws provided.
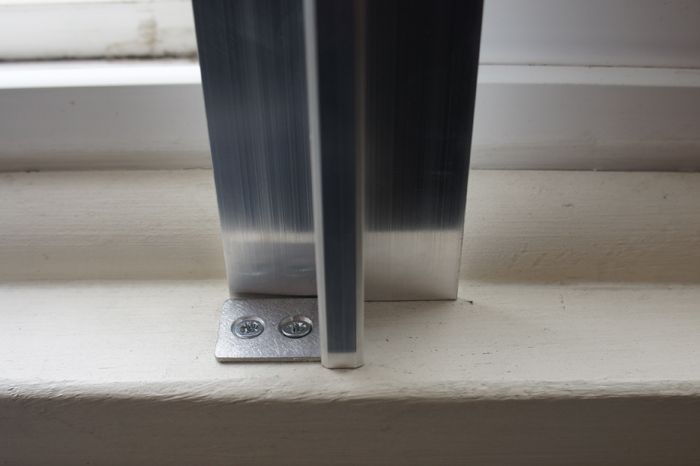
Repeat steps 8-10 for the top of the window frame.
**MAKE SURE you position the bracket at the correct depth or frame step within the frame.
Vertical Split Measurement
Follow the instructions included with your Laser Measure Kit to capture the six measurements for each opening.
When measuring the ‘D’ value of the left panel and the ‘C’ value of the right panel, ensure your laser tool is flush against the window frame, not resting on the ‘L’ bracket, and shooting straight up to the top of the window frame. These values should nearly be the same.
Enter all data into the Measure by Indow (MBI) portal.
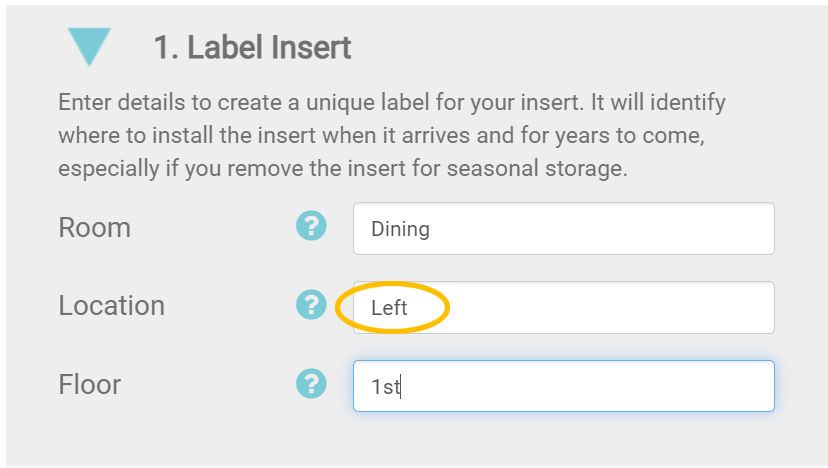
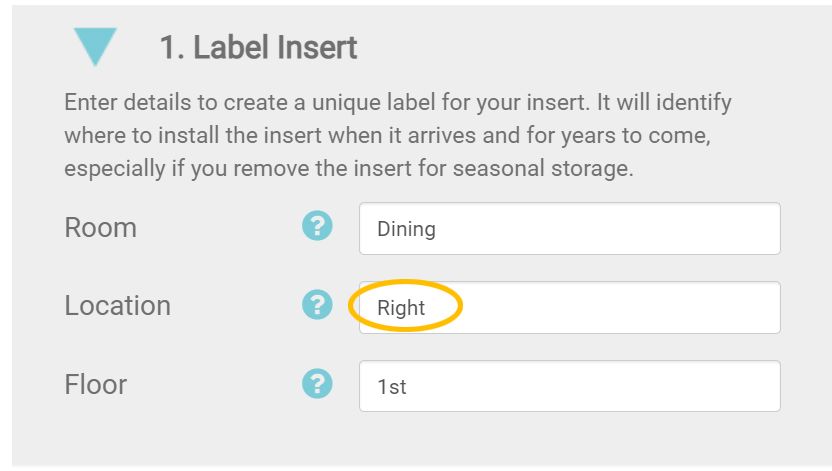
When entering your measure data into the MBI portal, designate “LEFT” or “RIGHT” in the Location field. This will be labeled on each insert so you know the correct location to install each panel.
3 Panel Splits
If you have a large window opening requiring 2+ mullion bars, you will need to place additional brackets in the window, in the places you wish to install the mullions. Where you measure from will be important as it can impact the outcome of your inserts. Here is a diagram illustrating our recommended measurements in a 3 panel split:
BLUE
Heights measured on the frame, next to the brackets.
GREEN
Diagonals from the bracket to the frame.
BROWN
Widths from the bracket to the frame.
RED
Downward diagonals, from the bracket to the frame.
ORANGE
Heights measured on the frame, next to the brackets.
PURPLE
Widths from bracket to bracket.
YELLOW
Diagonals measured from ‘L’ brackets into ‘L’ brackets.
Insert Installation
Once you’ve received your inserts and mullion bar, unpackage the panels to identify which should be installed to the left of the mullion and which should be installed to the right.
If the mullion bar was not ordered pre-cut, measure and cut it now.
Measure the distance across the frame at the specific location the mullion will be installed.
Apply that measurement to the aluminum bar. Cut it with any saw with a metal-cutting blade.
Place the ‘H’ bar against the previously installed brackets so one set of brackets is nested in the ‘H’ channel.
Position the second top bracket so the pre-drilled hole is properly aligned, and secure into place.
Repeat on the bottom.
Install the Indow inserts, taking care to install the side that will be nested in the mullion first.
For alternate installation techniques or different mullion profiles, you will need to completely install the bar and hardware before measuring.
Get a Free Estimate
WE SHIP TO YOU!
You're one step closer to creating more comfort & quiet in your home.
We value safety and privacy. We will never share, sell, or rent your data to third parties not directly related to your purchase or consideration of our products. Read our full policy here.
They are working great! Very happy with the purchase.
I'm enjoying the units, however will need to wait until next year's colder weather to get a truer feel or read on how well they work - thanks
They work very well for my 3 Bedroom windows.easy to install.
I purchased two Indow window inserts for two west-facing bedroom windows. These windows are exposed to the hot afternoon sun, making it difficult to cool the bedroom, and there is considerable outside noise. The Indow inserts work great at reducing the outside noise and keeping my bedroom cooler. I absolutely recommend Indow window inserts.
Very professional from website to delivery and installation was well explained and easy. Noise reduction was quite noticeable and sealing from cold just as good if not better. Would recommend 100%.
Wonderful product
My husband and I can finally sleep all night without being woke up by outside noise! Indows are game changers if you live on a busy road, by a loud industrial business or just want a quieter inside environment. The customer service is pretty amazing too! Thanks Indow group for giving us back great sleep!!
fit perfect, weny in easyand make a diffrence with noise ,thank norbert
Easy DIY measuring, and an obvious immediate increase in warmth. Huge difference in a historic home with historic windows.
WE just took delivery of the two window inserts we ordered. they both fit perfectly. The most difficult part of the process was me trying to hold the laser measuring device still while taking the diaginal measurment! The Indow team was helpful and the ordering process was catch free. the finished product is just as they described. once installed, you can not even tell that they are there. I will warn you, if you have larger sizes they will come in a pretty large packing crate/box to protect them so be prepared. The only reason for 4 stars insted of 5 is they have just been istalled and we shall see how effective they are at reducing cold air, but they fit so snug that I anticipate they will be very effective. Just in time too, because our area is in a low temp/low wind chill pattern at the moment.
The Indow I ordered was a perfect fit. It looks great and is an extremely well made product. The ordering process was seamless.
Noise reduction by at least 50%! I cannot hear most car that drives by now. My bedroom is so quiet! Thank you!
Easy to order and install.
Window inserts help with sound since I live facing the street and the highway
This is a 5 star company from beginning to end. I purchased the I inserts in 2017 because the bedroom on the second story faced the street. These are very effective for street noise. Noticed a problem on one of the windows recently and they quickly took care of it due to their warranty. Customer service personnel are very helpful. The price of the windows was acceptable for top quality of sleep and less noise during the day